¶ Custom Integration
Follow these steps using the Setup Wizard to set up a Custom Integration in the 24Metrics AdSecurity Platform.
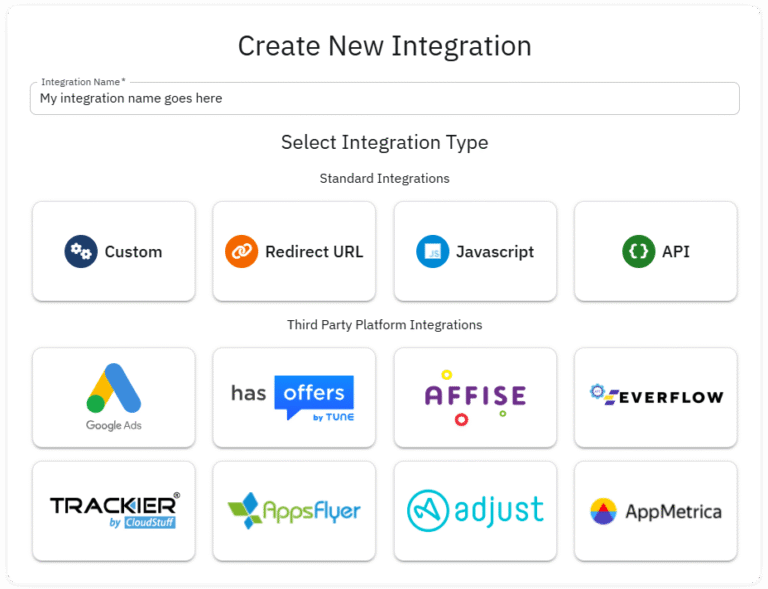
¶ 1. Create a New Integration
- Navigate to Integrations
- Click + Create
- Enter a name for your integration (this can be changed later).
- Select the Custom Integration icon.
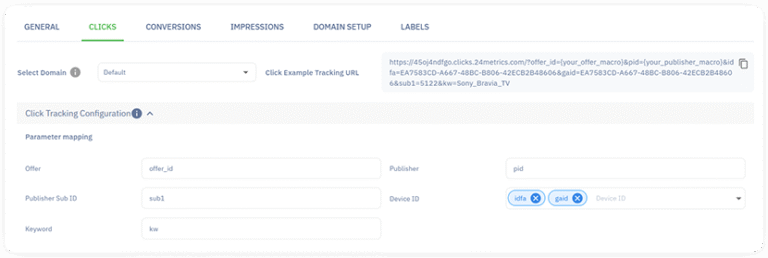
¶ 2. Set Up Clicks (TAB)
Domain Selection:
- Default Domain: Use the generic domain provided by 24Metrics.
- Custom Domain: Add your domain in the Domain Setup tab (see Section 4).
Parameter Mapping:
- Rename or map parameters to match your configuration settings.
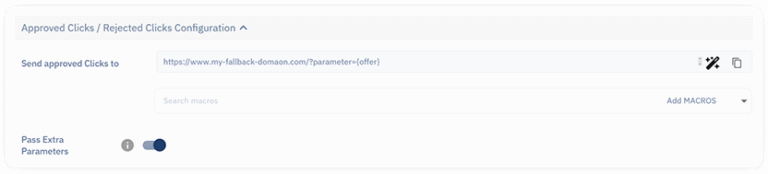
Approved/Rejected Clicks Configuration:
- Provide a URL to send approved clicks.
- Select required parameters.
- Optionally, enable/disable passing extra parameters.
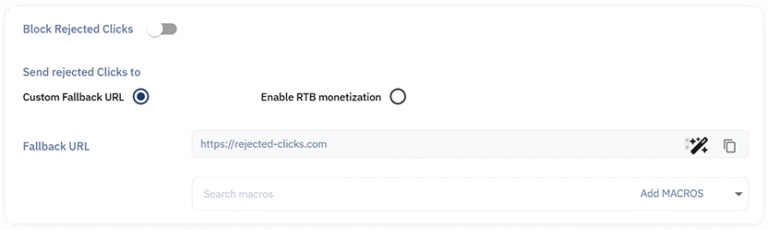
Options to configure rejected clicks:
- Block rejected clicks
- Enter a Custom Fallback URL to redirect rejected clicks.
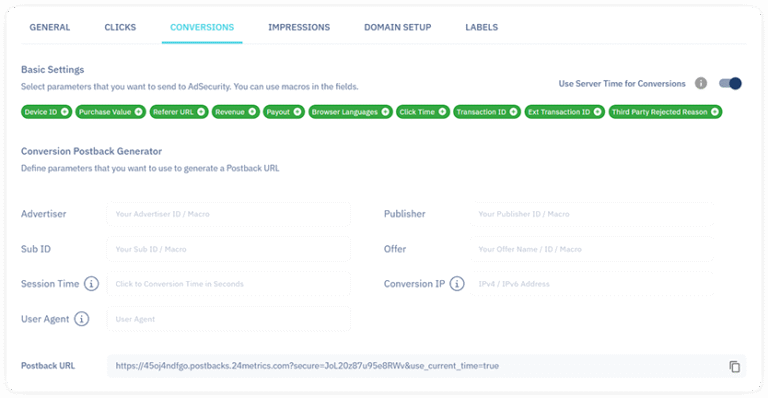
¶ 3. Set Up Conversions (Conversion Tab)
Parameter Mapping:
- Map default parameters.
- Add extra parameters such as External_Transaction_ID or Third_Party_Rejected_Reason to create your Postback URL.
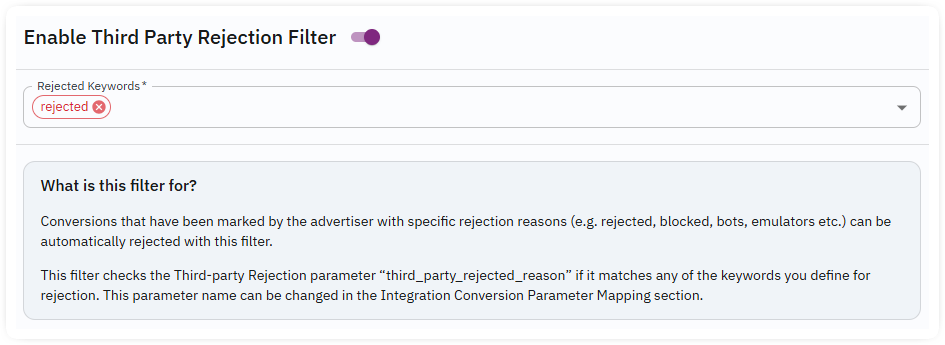
Advanced Rejection Endpoint:
- Implement a rejection endpoint with the advertiser's platform.
- Retroactively reject conversions from third-party systems with a specific rejection reason.
Requires Transaction ID and Rejection Reason.
¶ 4. Set Up Connection to Your Custom Domain (Optional)
Using Domains:
- Use the 24Metrics default domain or add your custom domains.
- The platform supports multiple domains.
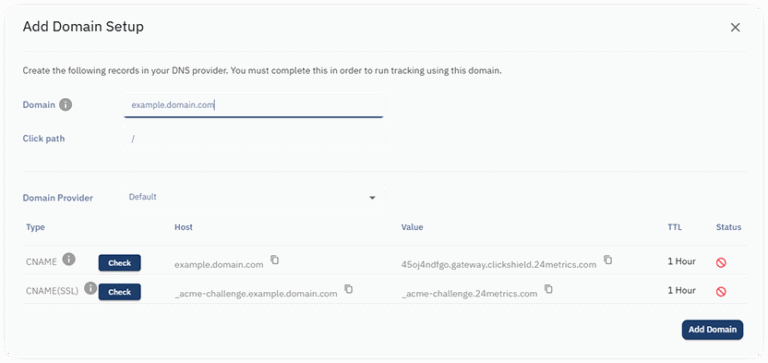
How to Add a Custom Domain:
- Go to the Domain Setup tab.
- Click + Add a Tracking Domain
- Enter your domain in the field (e.g.,
example.domain.com). - Copy the generated DNS records (CNAME), login to the control panel of your hosting provider and add the DNS records to your domain.
- Repeat for additional domains.
Note:
Consult your hosting provider for more details on DNS records.
Refer to the domain settings in your control panel for further assistance.
By following these instructions, you can effectively configure your Custom Integration and optimize its performance within the 24Metrics AdSecurity Platform.