

Third-party rejection
Third Party Rejection screens conversions using rejection reasons or status values sent by an advertiser or tracking platform. Supply these inputs through the conversion postback or import. Enabling the filter alone does not create that data feed.
- For rejection reasons, use the integration’s conversion parameter mapping to map Third-Party Reason to the incoming rejection-only field. The standard parameter is
third_party_rejected_reason; use your integration’s mapping if the incoming field has another name. Any non-empty reason rejects the conversion when the filter is enabled. - For status matching instead, send
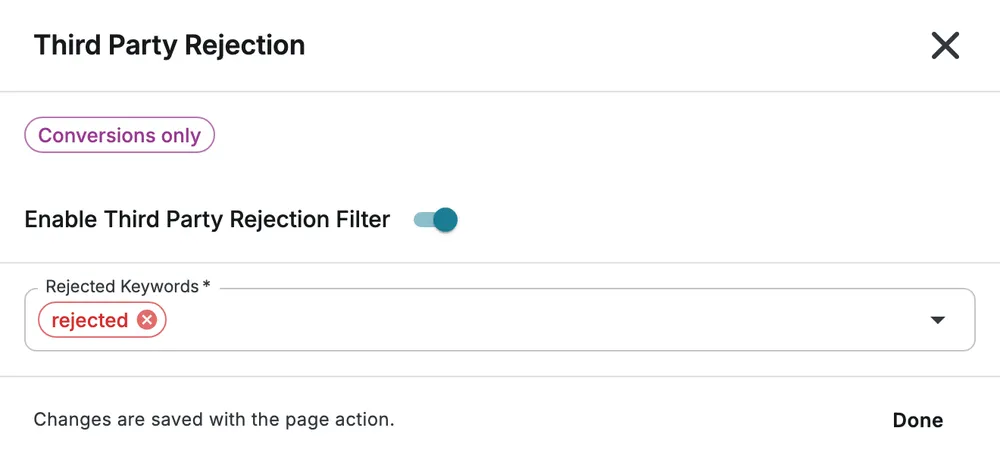
third_party_status. Rejected Keywords applies to this status value, not to the reason text. Use the sending platform’s supported macro rather than a literal macro copied from another integration. - Open Third Party Rejection in Filters and enable it.
- Add status values you want to reject in Rejected Keywords. Backend validation allows up to
100unique keywords. New dashboard groups start withrejected; review the actual values sent by your partner. - Select Done, then save the page and verify the resulting conversion status in reports.
Example and caveat
Section titled “Example and caveat”If the sending platform reports both approved and rejected, send those values as third_party_status and include rejected in Rejected Keywords. Do not map a general status field to Third-Party Reason: even approved is a non-empty reason and would reject the conversion. Reason mapping belongs to the integration, not an offer-level Conversion-tab setting.
See bulk conversion import when supplying rejection data by file, and Data Validation for other parameter checks.