

Adjust
This guide explains how to connect your 24metrics account with Adjust to enable click and conversion screening for fraud detection.
Create the integration in 24metrics
Section titled “Create the integration in 24metrics”- Log in to your 24metrics platform.
- Navigate to Integrations and click Create.
- From the available options, select Adjust.
- Click Save & Proceed to Setup.
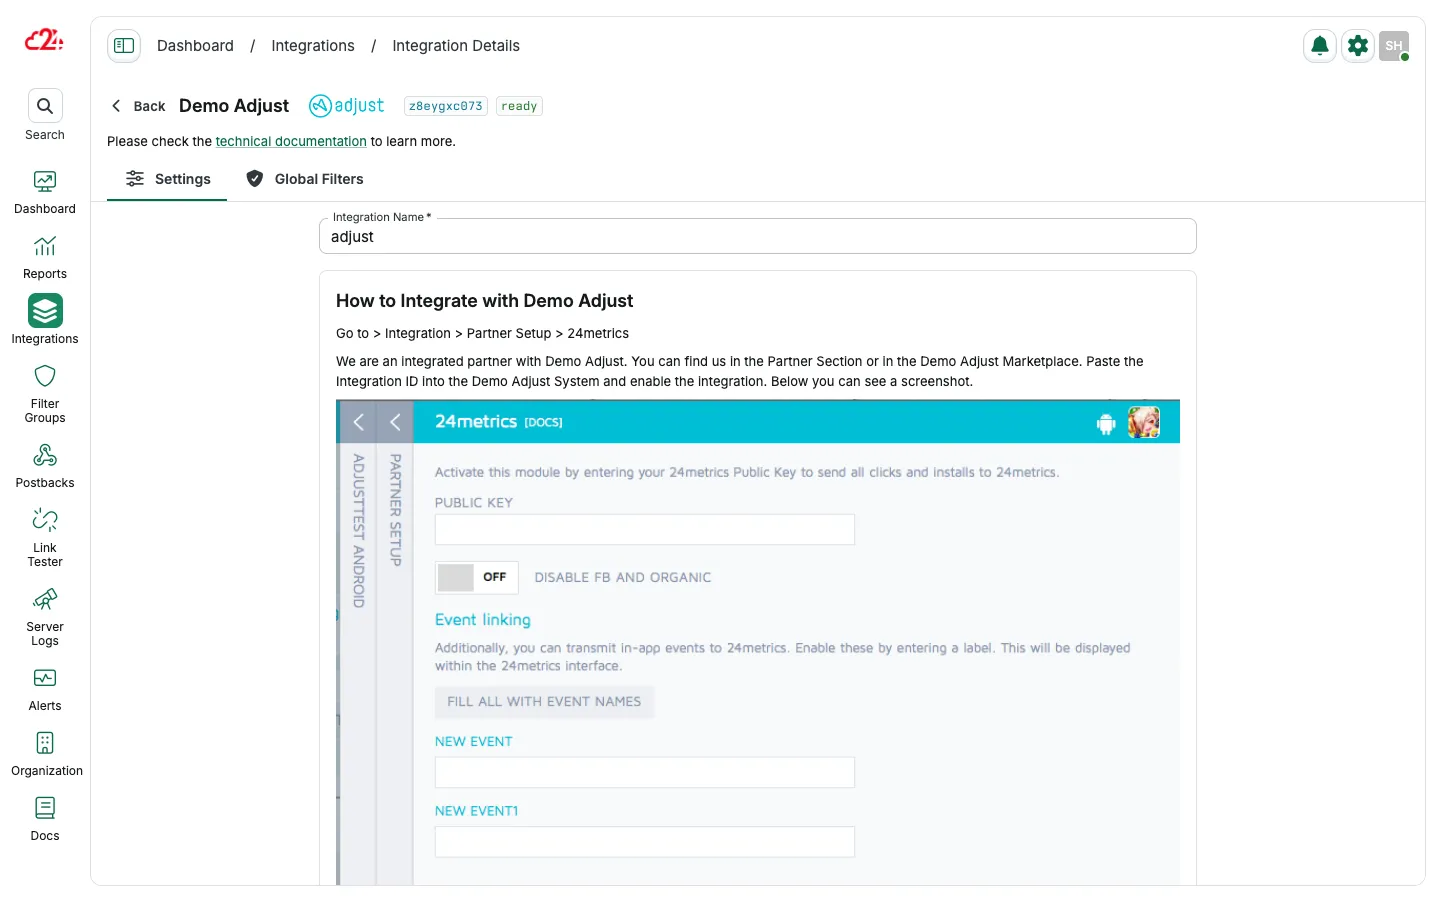
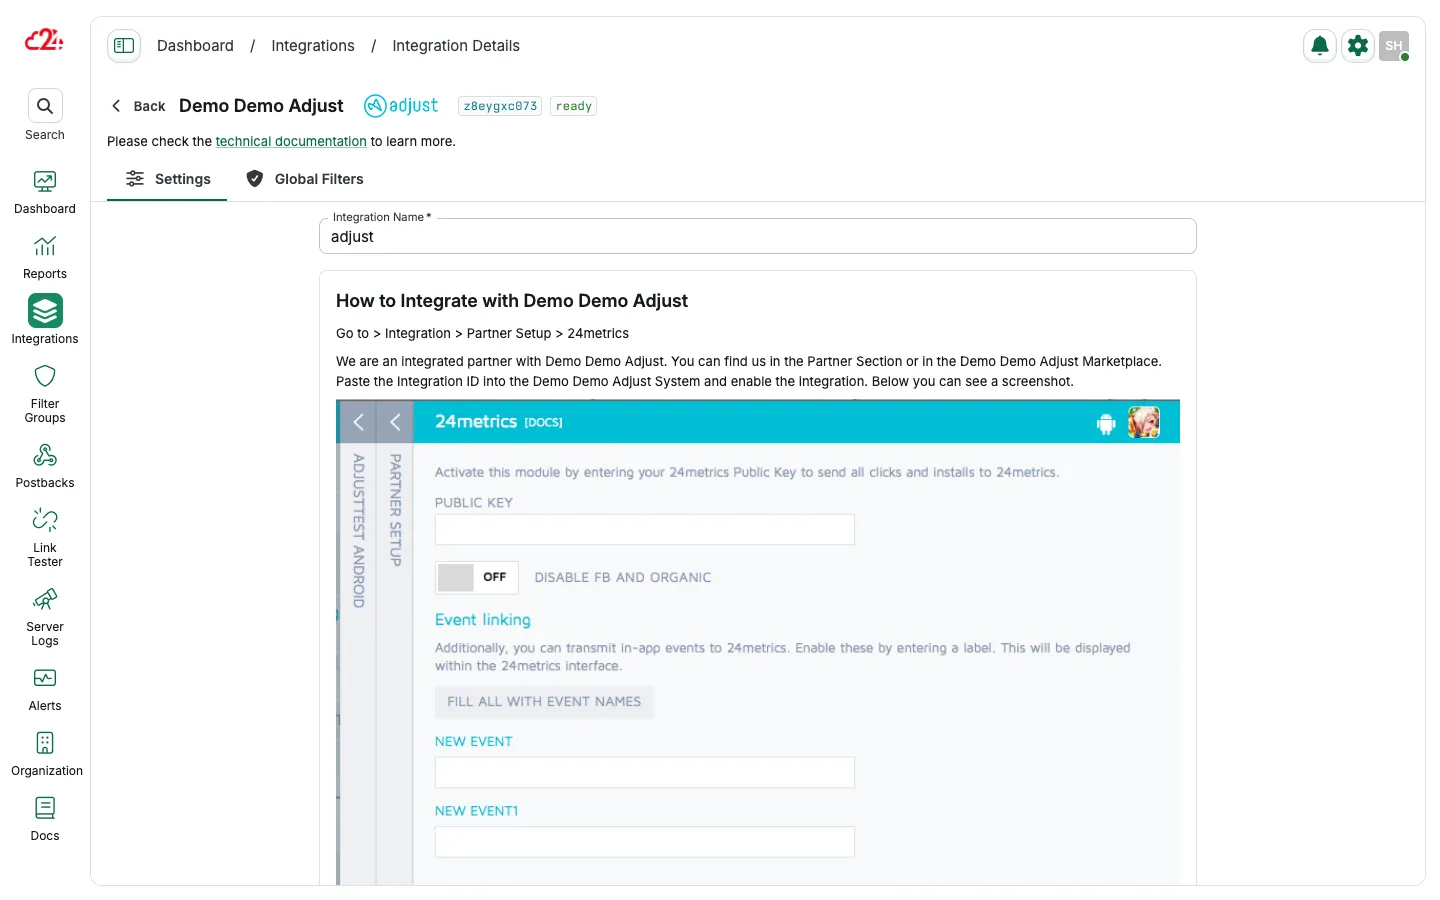
- Copy the Integration ID generated for your new integration.
Configure the integration in Adjust
Section titled “Configure the integration in Adjust”- Log in to your Adjust account.
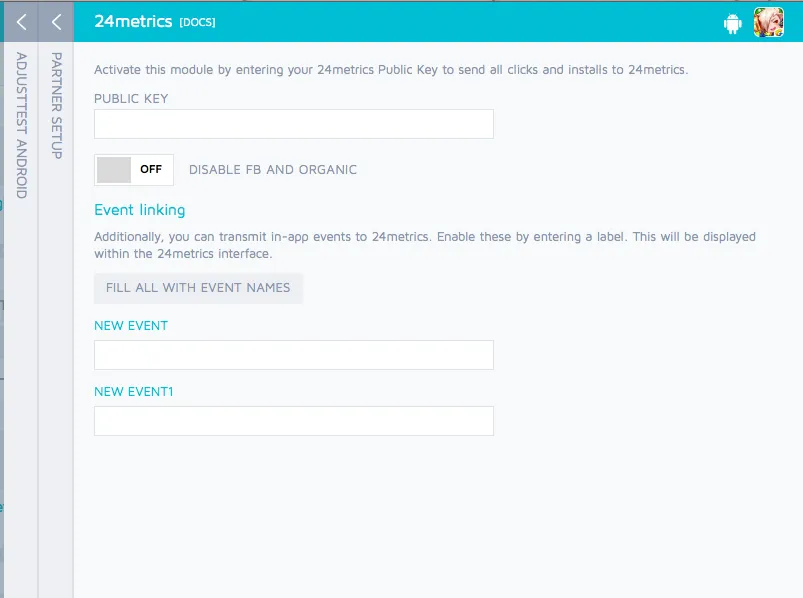
- Navigate to: Integration > Partner Setup > 24Metrics. Since 24metrics is an official Adjust partner, you can find us in the Partner Section or directly in the Adjust Marketplace.
- Paste the Integration ID you copied from 24metrics into the Adjust system.
- Enable the integration.
Map fields in 24metrics
Section titled “Map fields in 24metrics”- Return to your 24metrics platform.
- Open the Adjust integration you just created.
- Open Settings and map click fields under Click Settings → Parameter Mapping.
- Map conversion fields under Conversion Settings → Parameter Mapping.
- Click Save once all mappings are complete.
Advanced settings (optional)
Section titled “Advanced settings (optional)”In the integration settings, conversion tab, scroll down to Advanced Settings to find the Rejection API URL.
- This can be used to retroactively reject conversions from third-party systems with a specified Rejection Reason.
- The API requires:
- Transaction ID
- Rejection Reason
This feature allows full synchronization between a 3rd party rejection reason and 24metrics for better fraud management.
✅ Your Adjust integration with 24metrics is now complete!
Set up click and conversion screening under the integration Global Filters tab. For source-specific rules, use Filter Groups. Global filters remain the integration fallback.